7 Reasons Your Fish Never Browns Like Restaurant Fish
Quick Answer: Browning requires a dry surface and high heat. Fish is roughly 70 to 80 percent water, and any moisture on the surface has to evaporate before the temperature can rise past 212F - so a wet fillet steams itself pale before it can ever brown. Dry the surface aggressively, get the pan properly hot, and stop crowding it. Everything else on this list is a variation of those three. The pan is almost never the problem.
Seven reasons, in the order they usually apply.
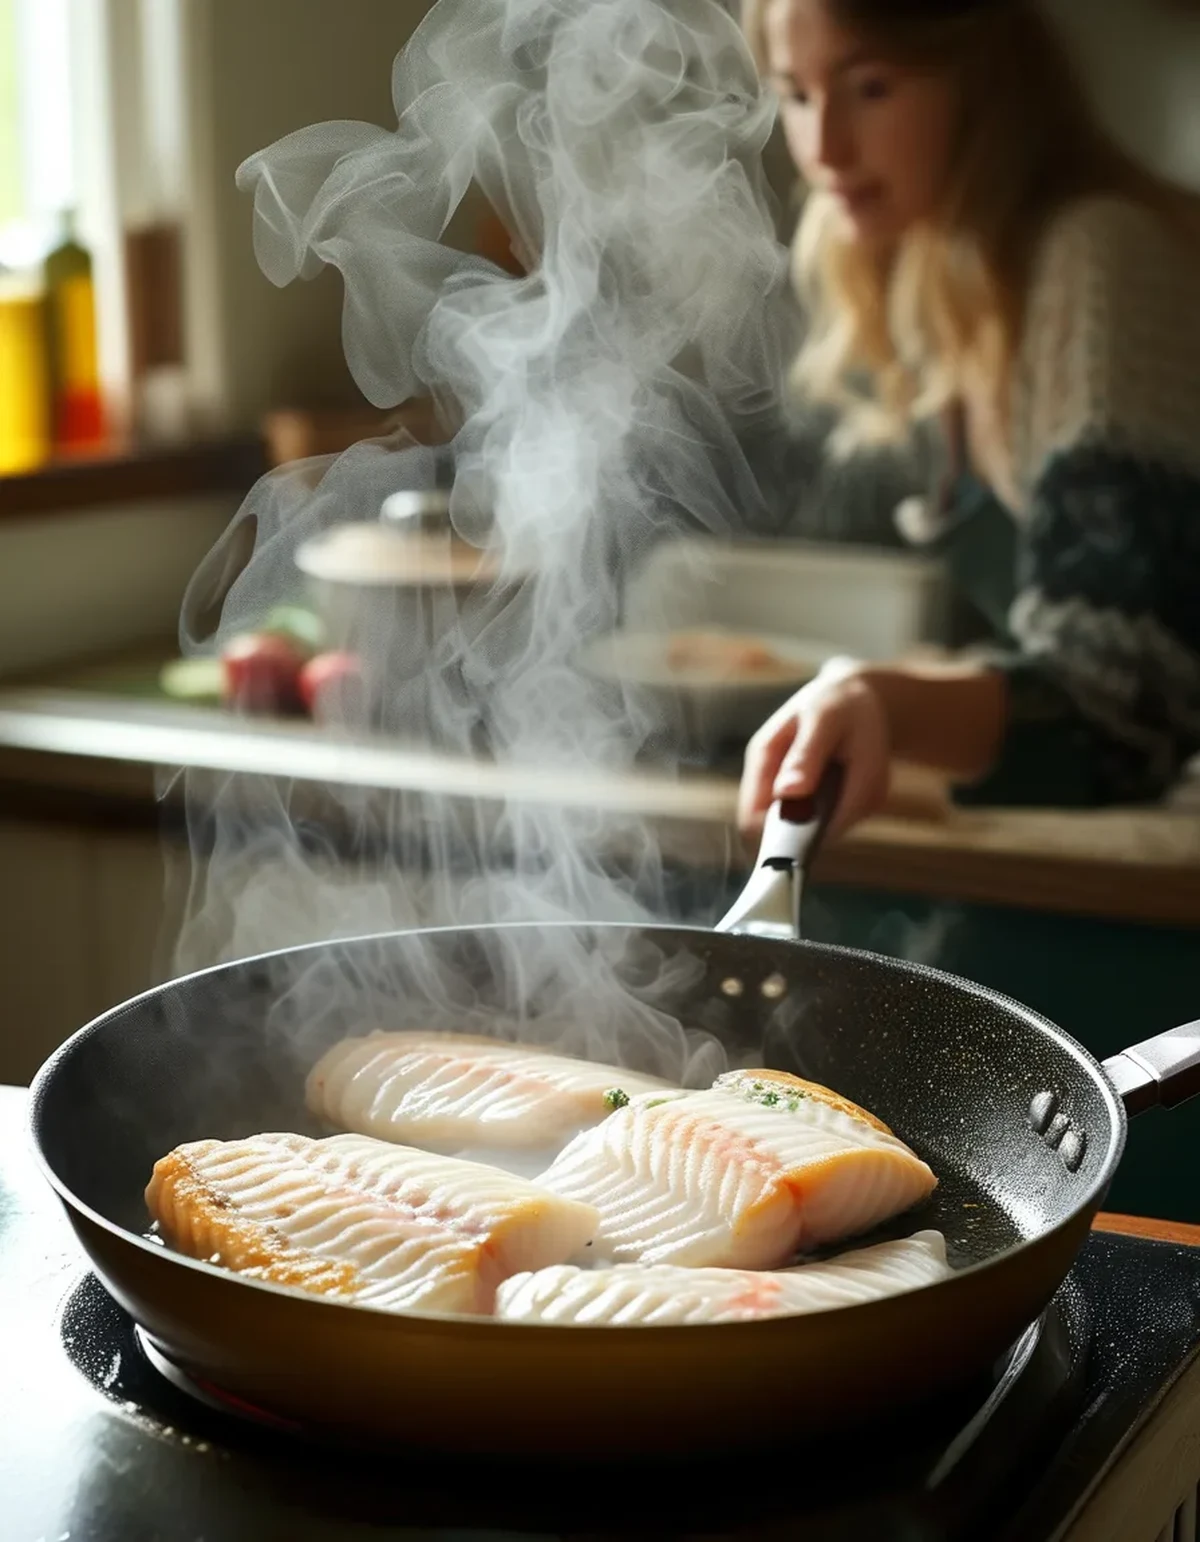
1. The surface of the fish is wet
This is the cause in most home kitchens and it is entirely fixable in five minutes.
Water must evaporate before the surface can exceed 212F, and browning reactions need considerably more heat than that. Every drop of surface moisture is a delay during which the fish cooks through without colouring.
Paper towels are not enough on their own for a very wet fillet. Pat dry, then let the fish sit uncovered on a rack in the fridge for 20 to 30 minutes if you have the time. The dry cold air pulls surface moisture out and firms the exterior.
Previously frozen fish holds more surface water. Ice crystals rupture cells and release water on thawing, so thawed fish needs more drying than fresh, not less. Thaw it in the fridge overnight, then dry thoroughly.
Do not salt the surface immediately before searing. Salt draws moisture out, so salting five minutes before puts water back on the surface you just dried. Salt either 40 minutes ahead - long enough for the moisture to be reabsorbed - or right as it hits the pan.
Fix: dry, rest uncovered in the fridge, dry again just before cooking.
2. The pan is not hot enough
Home cooks consistently underheat the pan for fish because they are afraid of it sticking or burning.
You need the pan at searing temperature before the fish goes in. A drop of water should skitter and evaporate almost instantly - that is the practical test. Oil should shimmer and move freely.
The fish will drop the pan temperature significantly on contact. A cold fillet in a moderately hot pan brings the surface below browning temperature immediately, and it never recovers. Starting hotter compensates.
Preheat the pan empty, then add oil, then the fish. Adding oil to a cold pan and heating them together takes longer and leads people to add fish before the pan is ready.
Use an oil with a high smoke point. Grapeseed, avocado, refined canola, or clarified butter all handle searing temperatures. Extra virgin olive oil and whole butter smoke and burn at the temperatures needed for a proper crust - add butter at the end, not the start.
Fix: preheat until water skitters, use a high smoke point oil, and accept a little smoke.
3. The pan is crowded
Two fillets in a pan sized for one is the difference between searing and steaming.
Each fillet releases water as it cooks. In a crowded pan that water cannot evaporate fast enough and accumulates, dropping the surface temperature and putting the fish into a steam bath.
You can see it happen. If the pan stops sizzling and starts making a quieter hiss, water is winning. Sizzle is the sound of evaporation working; silence is the sound of steaming.
Leave at least an inch between pieces. The gaps are how steam escapes, not wasted pan space.
Cook in batches and keep the first batch warm. A 200F oven holds cooked fish perfectly for ten minutes, and two properly seared batches beat one pale crowded one every time.
Fix: use a bigger pan or cook in two rounds. This is the reason restaurant fish looks different - they sear to order, one or two pieces at a time, in a very hot pan.

4. You are moving the fish too soon
Fish sticks until it is ready to release, and then it releases on its own.
Protein bonds with the metal surface when it first makes contact, and those bonds break as the crust forms and dehydrates. A fillet that will not lift is not stuck permanently - it is not done on that side.
Wait for the visual cue. Watch the side of the fillet: the cooked, opaque zone climbs up from the bottom, and when it reaches roughly a third to halfway, the crust is formed.
Test with the edge of a spatula, gently, once. If it resists, wait another 30 seconds. Repeated poking is how fillets break apart.
Do not move the fish around the pan. Sliding it re-wets the surface with released juices and breaks the developing crust. Place it once, in the direction away from you, and leave it.
Fix: place, leave for 3 to 4 minutes depending on thickness, then check once. Most fillets need only one flip and a much shorter second side.
5. The fish came out of the fridge two minutes ago
A cold fillet cooks unevenly and pulls more heat out of the pan.
Let it sit at room temperature for 10 to 15 minutes before cooking. Not longer - fish is more perishable than meat and should not sit out for extended periods.
The reason is heat gradient. A very cold centre means the outside has to overcook to get the inside done, which is the other classic home-kitchen fish failure. A slightly tempered fillet browns outside and finishes inside at the same time.
Uneven thickness compounds it. A tapered fillet like salmon has a thin tail that overcooks by the time the thick end is ready. Tuck the tail under to even out the thickness, or buy centre-cut portions.
Skin-on fillets are more forgiving. The skin acts as a heat buffer and crisps beautifully if you press the fillet flat for the first 20 seconds - it curls otherwise, and a curled fillet only touches the pan at the edges.
Fix: 10 to 15 minutes at room temperature, press flat for the first 20 seconds, tuck thin tails under.
6 and 7: The two that decide whether the crust survives
6. It is the wrong fish for searing
Not all fish browns well, and no technique overcomes a species mismatch.
Firm, oily fish sears best. Salmon, tuna, swordfish, mackerel, and arctic char hold together and develop real colour. Their fat content contributes to browning and helps carry heat.
Delicate white fish is harder. Cod, haddock, sole, and flounder are lean, flaky, and high in water, so they break apart and steam rather than brown. They are better suited to gentle methods, or to a coating.
A light dusting of flour or rice flour transforms a lean fillet. The starch dries the surface and browns readily, giving a crisp exterior that the fish alone will not produce. Rice flour or semolina gives a crisper result than plain wheat flour.
Skin-on gives you a browning surface even on delicate fish. Fish skin crisps far more readily than flesh because of its collagen and fat.
Fix: match the method to the fish, or add a light starch coating to lean white fillets before searing.
7. You are cooking it too long, so the crust burns while you wait
Many people cook fish well past done, which turns a good crust into a dark one and dries the interior.
Fish is done at a lower temperature than most people expect. Salmon is commonly served around 125F for medium and is fully opaque by 145F, which is drier than most restaurants would serve it.
It carries over after it leaves the pan. Internal temperature rises several degrees while resting, so pulling early is not a risk, it is a technique.
Use the flake test rather than the clock. Press the thickest part - it should just begin to separate into flakes and still look slightly translucent at the very centre for salmon and tuna.
Thin fillets cook alarmingly fast. A half-inch fillet may need only two to three minutes total, and the second side often needs less than a minute. If you are searing four minutes per side on a thin fillet, it was done long before the crust looked right - which means the heat was too low.
Fix: cook by look and feel, pull early, and rest for two or three minutes.
And a seasonal note: as the weather turns, oily autumn fish suits this method especially well - mackerel, sardines, and late-season salmon all sear beautifully and pair with the roasted vegetables the season provides.
FAQ: Searing Fish Questions, Answered
Non-stick or stainless steel?
Stainless or cast iron for real browning. Non-stick coatings are generally not rated for the temperatures required for a hard sear, and the surface itself contributes less to crust formation. Non-stick is the safe choice for delicate fillets; stainless is the choice for colour.
Skin side first or flesh side first?
Skin side first, and for most of the cooking time. The skin protects the flesh and crisps as it renders, and finishing briefly on the flesh side keeps the fillet moist. Press it flat for the first 20 seconds to stop it curling.
Why does my fish always stick?
Three usual causes: pan not hot enough, fish not dry enough, or moved too soon. A properly hot pan, a dry surface, and patience solve nearly all sticking - and a fillet that will not lift is telling you the crust has not formed yet.
TL;DR:
- Surface moisture must evaporate before browning can start - dry aggressively and rest uncovered in the fridge.
- Preheat until water skitters and use a high smoke point oil; add butter at the end.
- Do not crowd the pan - the sizzle stopping means water is winning.
- Place once and leave it - a fillet releases itself when the crust has formed.
- Match the fish to the method or dust lean white fish with rice flour, and pull it off early.
Put your fillets uncovered on a rack in the fridge for half an hour before dinner. That single step changes the result more than any pan will.
Keep Reading
This article is for general informational purposes only and is not medical advice. Always consult a qualified health professional for guidance specific to you.