7 Reasons Mussels and Clams Go Wrong
Quick Answer: Most shellfish problems are decided before the pan gets hot. Buy them alive and cold, store them in a bowl covered with a damp cloth — never sealed in water or plastic, purge clams in salted water to remove grit, and discard any that stay open when tapped. Cook only until they open, usually 4 to 6 minutes, and pull them out as they go rather than waiting for the last one. The last stragglers are what make everything else rubbery.
You followed the recipe exactly.
Half of them never opened, the broth crunches, and the mussels are chewy.
Three different mistakes, none of them in the recipe.

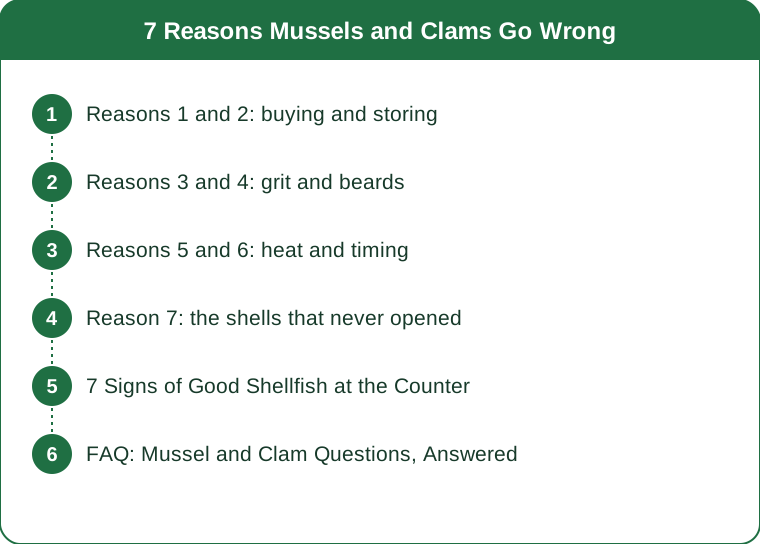
Reasons 1 and 2: buying and storing
1. They were not alive when you bought them
Mussels and clams must be alive right up until cooking. Live shellfish are closed, or close when you tap them. Ones that stay open when tapped are dead and should be discarded.
At the counter: look for shells that are closed and intact, smell that is clean and briny rather than ammoniac, and shells that feel heavy for their size. A gaping bin of open shells is a bad sign about the whole batch.
Cracked or broken shells go in the bin regardless.
2. You stored them in water or a sealed bag
This kills them, and it is by far the most common home mistake. Shellfish need air and cannot survive submerged in fresh water or sealed in plastic.
Correct storage: a bowl in the fridge, covered with a damp cloth or damp kitchen paper, never sealed, never in standing water. Drain any liquid that collects.
Use within 1 to 2 days of purchase. They are not a shop-ahead ingredient.
Reasons 3 and 4: grit and beards
3. You did not purge the clams
Clams live in sand and hold it inside the shell. Rinsing the outside does nothing about that.
Purging: soak in cold salted water — roughly 35g salt per litre, approximating seawater — for 20 to 30 minutes. The clams filter and expel the sand. Lift them out rather than pouring, so you do not tip the grit back over them.
Repeat once if the water is visibly sandy. Fresh water instead of salted will kill them, and dead clams do not purge.
Mussels need less purging — usually a scrub and a rinse is enough, since farmed rope-grown mussels carry very little sand.
4. You debearded them too early
The beard is the fibrous tuft mussels use to attach to rope or rock. Pulling it out damages the mussel and it dies shortly after.
Debeard immediately before cooking, not hours ahead. Pull firmly toward the hinge. Any mussel that does not close after debearding should be discarded.
Reasons 5 and 6: heat and timing
5. You overcooked them
Shellfish go from perfect to rubbery in about a minute. The protein tightens sharply once fully set, and there is no recovering it.
Cook until they open, then stop. For mussels that is typically 4 to 6 minutes in a covered pan over high heat with a small amount of liquid.
Pull them out as they open, with tongs, into a bowl. Waiting for the final stubborn few means overcooking the first eighty percent — this single habit is the difference between restaurant texture and home texture.
6. Your pan or your liquid was wrong
Too much liquid boils rather than steams and dilutes the flavour. Too little scorches and the pan runs dry before they open.
Use a wide pan with a lid so they sit in a shallow layer rather than a deep pile. A crowded pot means the ones on the bottom are done long before the ones on top begin.
Around 100 to 150ml of liquid for a kilogram of mussels is plenty — wine, stock or just water. They release a great deal of their own liquor as they open.

Reason 7: the shells that never opened
7. You threw away perfectly good ones — or ate bad ones
The old rule is ‘discard any that do not open’. It is a reasonable default and it is not the whole story.
The reliable test is before cooking, not after. A shellfish that was closed or closed when tapped before cooking was alive. If it is still shut afterwards, the adductor muscle simply held — often because it was slightly undercooked or the muscle was unusually strong.
A safe approach: discard anything that was open and unresponsive before cooking, without exception. After cooking, give the closed ones another minute or two of heat; if they still refuse and they smell wrong, bin them. If they open on the second attempt and smell clean, they are fine.
Never force a shell open to check. If it needs a knife, it is not telling you anything you want to hear.
Smell is the final arbiter. Clean, briny, of the sea — good. Ammonia, sulphur, or anything sharp — discard, and discard the broth too.
Seasonal note: shellfish are at their best in cooler months, when they are plumper and the risk of warm-weather transport problems is lower. The old advice about months with an R in them is partly seasonal biology and partly refrigeration history, but the cool-weather quality difference is real.
This is general information, not medical or food safety advice. Follow local food safety guidance, and anyone pregnant, immunocompromised or with a shellfish allergy should take specific advice.
7 Signs of Good Shellfish at the Counter
Closed shells, or shells that close when tapped. The single most important check.
Clean, briny smell. Anything ammoniac means walk away, no matter how good the price is.
Heavy for their size. Light ones are often empty or dying.
Displayed on ice, not in standing water. Submerged in fresh water means they are dying in front of you.
Intact shells. Cracks and chips are entry points and mean that one is gone.
Sold with a harvest date or tag. Reputable counters have this. Within a few days of harvest is what you want.
Sorted, not piled deep. A deep pile crushes the ones at the bottom and they die first.
And the one worth asking: ask when they came in. A fishmonger who knows the answer immediately is the one to buy from.

FAQ: Mussel and Clam Questions, Answered
How long can I keep them in the fridge?
One to two days, in a bowl under a damp cloth, never sealed and never in water.
Do I really need to purge clams?
Yes for wild or sandy clams. Farmed mussels usually need only a scrub.
What salt ratio for purging?
About 35g of salt per litre of cold water — roughly seawater strength. Fresh water kills them.
How long do mussels take to cook?
4 to 6 minutes in a covered wide pan over high heat. Remove them as they open.
Should I discard ones that stay closed?
Give them another minute or two of heat. If they still refuse or smell wrong, discard. Discard anything that was open before cooking without exception.
Can I freeze fresh mussels?
Not raw and live. You can freeze them cooked and shelled, though the texture suffers.
Why is my broth gritty even after purging?
You probably poured rather than lifted them out of the purging water. Always lift, leaving the sand behind.
TL;DR:
- Buy them alive — closed shells, clean briny smell, on ice rather than in water.
- Store in a bowl under a damp cloth, never sealed or submerged. Use within 1 to 2 days.
- Purge clams in seawater-strength salted water for 20 to 30 minutes and lift, never pour.
- Debeard right before cooking, and cook only 4 to 6 minutes, pulling them out as they open.
- Discard anything open before cooking; smell is the final judge afterwards.
Next time, take them out of the pan as they open instead of waiting for the last one. That alone fixes the texture.
Keep Reading
This article is for general informational purposes only and is not medical advice. Always consult a qualified health professional for guidance specific to you.